How to Fix a Bubble in Hardwood Floor: Step-by-Step Guide

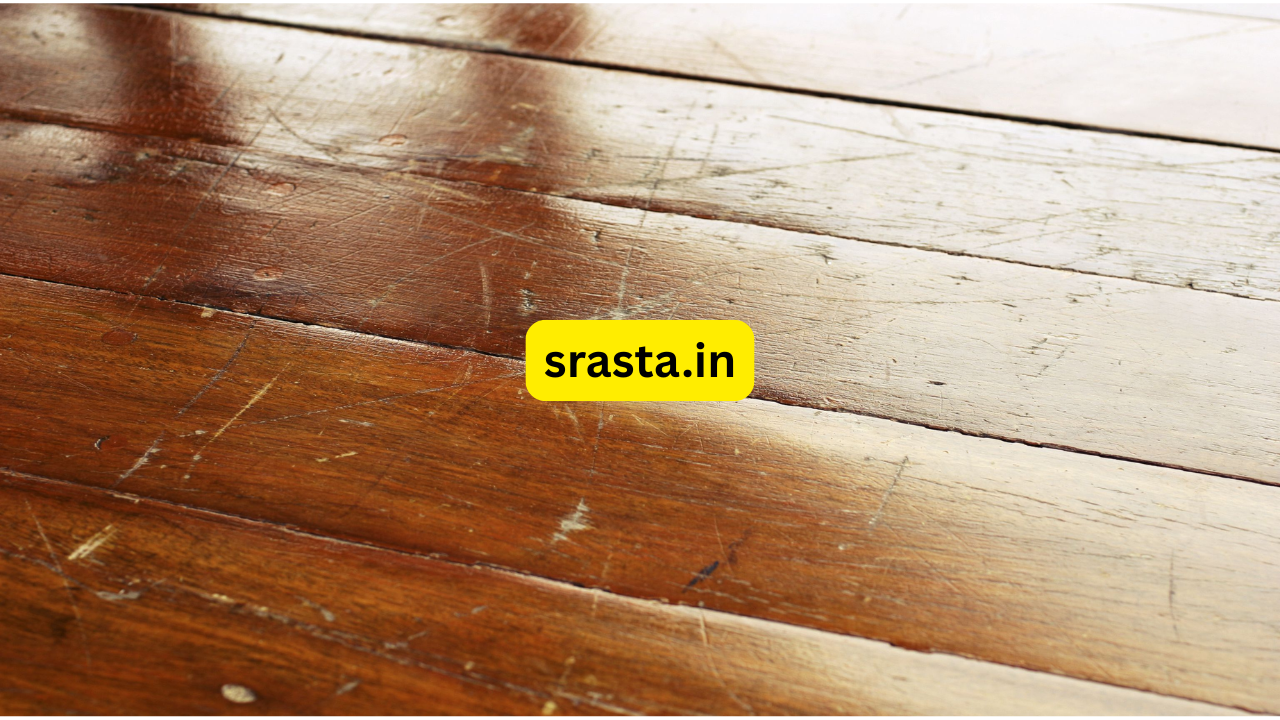
Hardwood floors are a classic choice for flooring in homes, but sometimes they can develop bubbles or bumps that are unsightly and potentially dangerous. These bubbles can be caused by a variety of factors, including moisture, uneven subflooring, or simply the natural aging of the wood. Fortunately, fixing a bubble in a hardwood floor is not as difficult as it may seem. In this article, we will discuss step-by-step instructions on how to fix a bubble in your hardwood floor.
Introduction
Hardwood floors are a beautiful and long-lasting investment for any home. However, over time, even the most well-maintained floors can develop bubbles or bumps. These bubbles can be unsightly and potentially dangerous, as they can cause people to trip and fall. Fortunately, fixing a bubble in a hardwood floor is a relatively simple process that can be completed with a few basic tools and some know-how.
Safety Precautions
Before attempting any repairs on your hardwood floor, it’s important to take some safety precautions to protect yourself and your home. Make sure to wear protective gloves and eyewear to avoid any injuries. Also, turn off the power supply to any electrical outlets near the area you will be working on.
Tools and Materials Needed
To fix a bubble in your hardwood floor, you will need the following tools and materials:
- Circular saw or jigsaw
- Chisel
- Hammer
- Wood glue
- Replacement hardwood planks
- Sandpaper
- Stain
- Polyurethane finish
- Paintbrushes
- Vacuum cleaner
- Dust mask
Identify the Cause of the Bubble
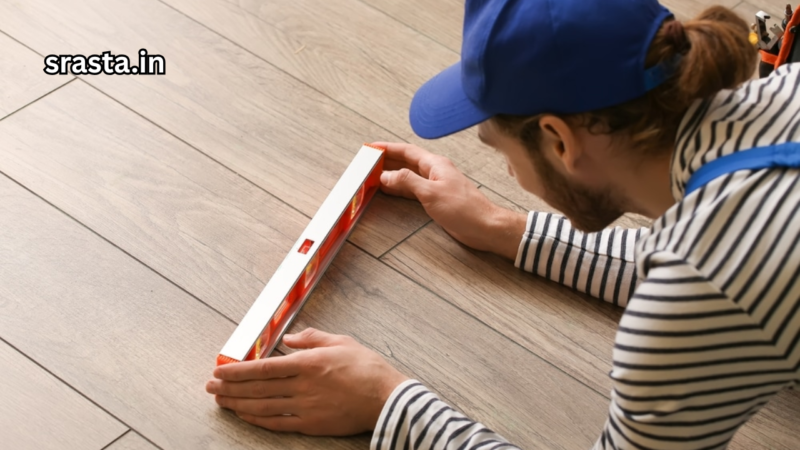
Before you can begin repairing the bubble in your hardwood floor, it’s important to identify the cause. The most common causes of bubbles in hardwood floors are moisture, uneven subflooring, or natural aging of the wood. If the bubble is caused by moisture, it’s important to identify and fix the source of the moisture before beginning repairs. Otherwise, the bubble may return.
Preparing the Floor for Repair
Once you have identified the cause of the bubble, you can begin preparing the floor for repair. Start by removing any furniture or objects from the area. Then, use a vacuum cleaner to remove any debris or dirt from the floor.
Cut and Remove the Damaged Section
Using a circular saw or jigsaw, cut around the perimeter of the bubble to remove the damaged section of the hardwood floor. Be careful not to cut into the surrounding planks. Then, use a chisel and hammer to remove the damaged section.
Replace the Damaged Section
Measure the size of the damaged section and cut a replacement plank to size. Apply wood glue to the back of the replacement plank and slide it into place. Make sure it is flush with the surrounding planks.
Sand and Stain the New Section
Once the replacement plank is in place, use sandpaper to smooth out any rough edges. Then, apply stain to the new plank to match the color of the surrounding planks. Follow the manufacturer’s instructions for applying the stain and allow it to dry completely.
Applying the Finishing Coat
After the stain has dried, it’s time to apply a polyurethane finish to the new plank and the surrounding area. Use a paintbrush to apply a thin coat of the finish and allow it to dry completely. Then, lightly sand the surface and apply a second coat. Repeat this process until you have achieved the desired level of finish.
Allow the Floor to Dry
Once you have applied the finishing coat, it’s important to allow the floor to dry completely before using it. This can take anywhere from 24 to 48 hours, depending on the manufacturer’s instructions.
Buff and Polish the Floor
Once the floor is completely dry, use a buffing machine or a soft cloth to polish the surface and give it a smooth, shiny finish. This will also help to blend the repaired area with the surrounding floor.
Preventing Future Bubbles
To prevent future bubbles in your hardwood floor, it’s important to keep the floor dry and free from moisture. Use a humidifier or dehumidifier as needed to maintain proper humidity levels. Also, be sure to clean up spills and moisture immediately to prevent them from seeping into the wood.
Common Mistakes to Avoid
One common mistake to avoid when repairing a bubble in your hardwood floor is using too much wood glue. This can cause the new plank to buckle or warp. Another mistake is not allowing the finishing coat to dry completely before using the floor.
When to Call a Professional
If you are unsure about how to repair a bubble in your hardwood floor, or if the damage is extensive, it’s best to call a professional. A flooring specialist can assess the damage and recommend the best course of action.
Conclusion
Repairing a bubble in your hardwood floor can be a straightforward process if you have the right tools and follow the proper steps. By identifying the cause of the bubble, preparing the floor for repair, replacing the damaged section, and applying the finishing coat, you can restore your floor to its original beauty and prevent future bubbles.
FAQs
- How long does it take to repair a bubble in a hardwood floor?
- The repair process can take anywhere from a few hours to a few days, depending on the extent of the damage and the drying time required.
- Can I repair a bubble in my hardwood floor myself?
- Yes, with the right tools and materials, it is possible to repair a bubble in your hardwood floor yourself. However, if you are unsure about the process or the damage is extensive, it’s best to call a professional.
- How can I prevent bubbles from forming in my hardwood floor?
- To prevent bubbles in your hardwood floor, it’s important to keep the floor dry and free from moisture. Use a humidifier or dehumidifier as needed to maintain proper humidity levels. Also, be sure to clean up spills and moisture immediately to prevent them from seeping into the wood.
- How often should I refinish my hardwood floor?
- The frequency of refinishing your hardwood floor depends on the level of use and traffic in your home. As a general rule, you should refinish your hardwood floor every 3 to 5 years.
- Can I use a different type of wood for the replacement plank?
- It’s best to use the same type of wood for the replacement plank to ensure a seamless repair. If a matching plank is not available, you may need to replace a larger section of the floor to achieve a consistent look.


